Accent Walls
Full Color Drench & Board-and-Batten Accent Wall in Ponte Vedra Beach

The Project
This job was in Ponte Vedra Beach, Florida. 32082, a newer custom home with serious bones and a homeowner who knew exactly what they wanted. The office was the centerpiece. Clean modern architecture, a tray ceiling with a ceiling fan already in, floor-to-ceiling sliding glass doors looking out to the backyard. Good raw material. But the room read flat. White walls, white ceiling, white trim. Generic. Zero personality.
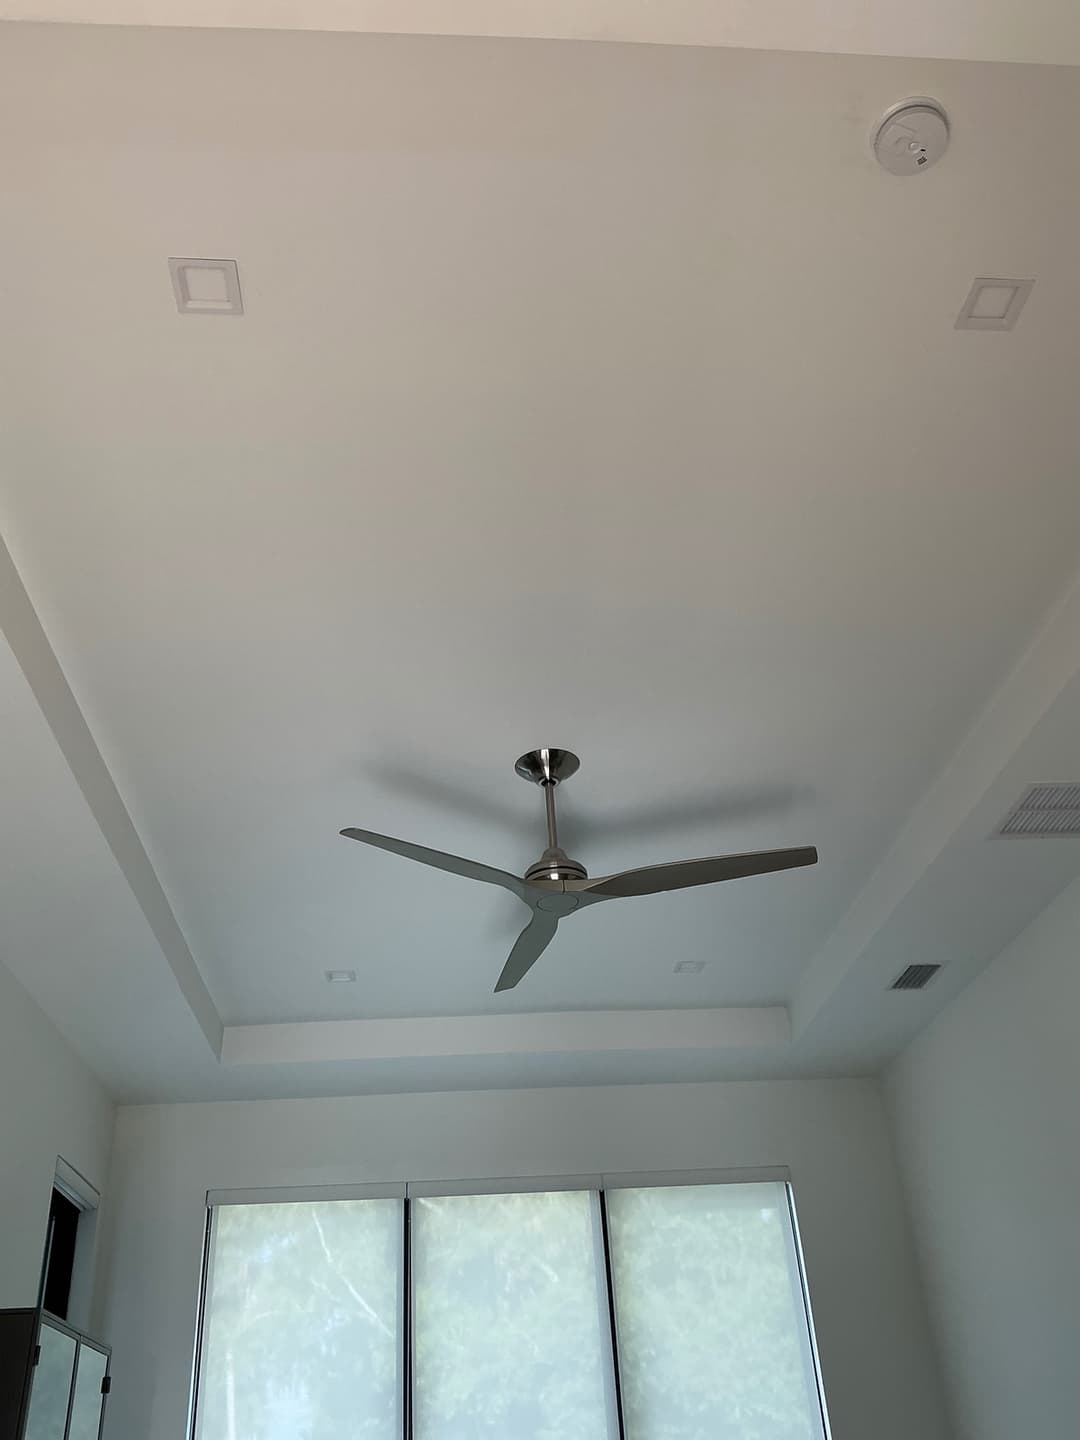
The ask: full accent wall treatment on one feature wall using a board-and-batten grid with custom wallpaper inset panels, a complete color drench of the entire office including ceiling, trim, vents, and outlets. All in the same deep blue-gray. And a four-piece crown molding upgrade to replace what was there. Every surface. One cohesive statement.
The Challenge
A few things made this one interesting to navigate. First, the color drench. The homeowners had never done it before and were nervous about it. I'll say it plainly: full color drenching. Walls, ceiling, trim, vents, all the same tone. Is one of those calls that looks wrong in your head until the second coat goes on the ceiling and suddenly the room has depth it never had before. You have to commit. Half-measures on a color drench look worse than not doing it at all.
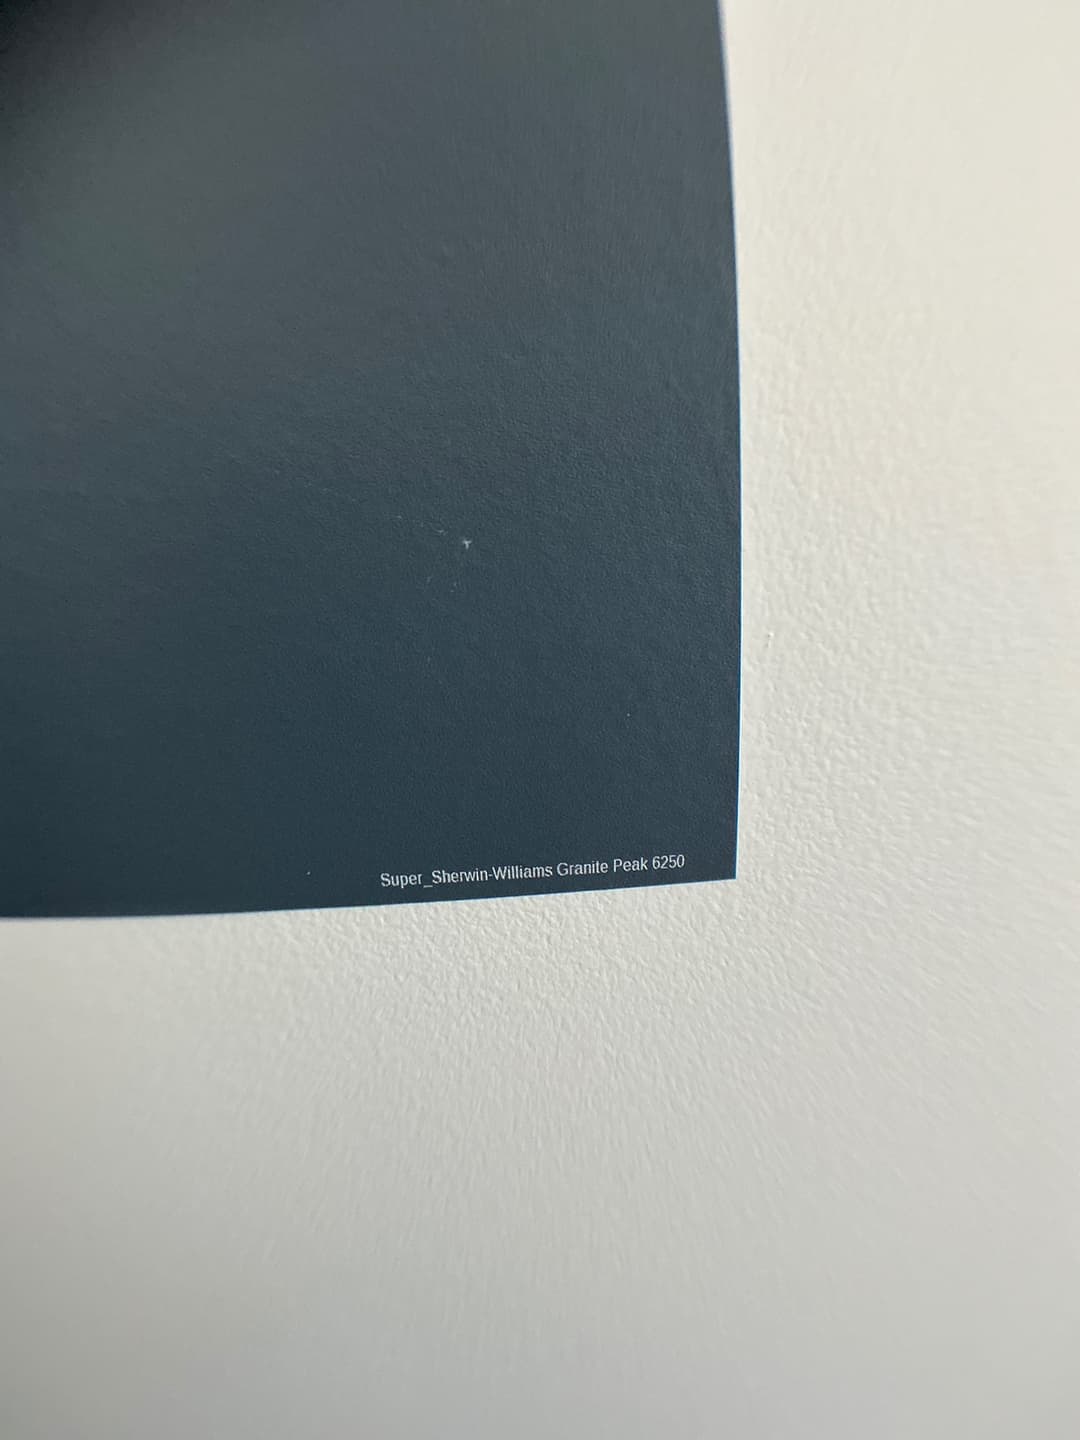
The color selection they landed on was Sherwin-Williams Granite Peak 6250. A deep, cool slate blue-gray. On its own it's a bold pick. Wrapped across every surface of a room with this much millwork, it becomes something else entirely.
Second challenge: the wallpaper panels inside the board-and-batten grid. The grid itself had to be perfectly laid out before the wallpaper went in, because the batten lines frame each panel like a picture. Any measurement that's off by a quarter inch shows. We needed clean, consistent reveals at every intersection. Top, bottom, left, right. Across a wall that's wide enough to span most of the room.
Third: the homeowners were away during the entire build. All decisions that needed escalating had to go through a point of contact on site. That adds a layer to every judgment call you make in the field. You have to be certain before you cut.
The Build
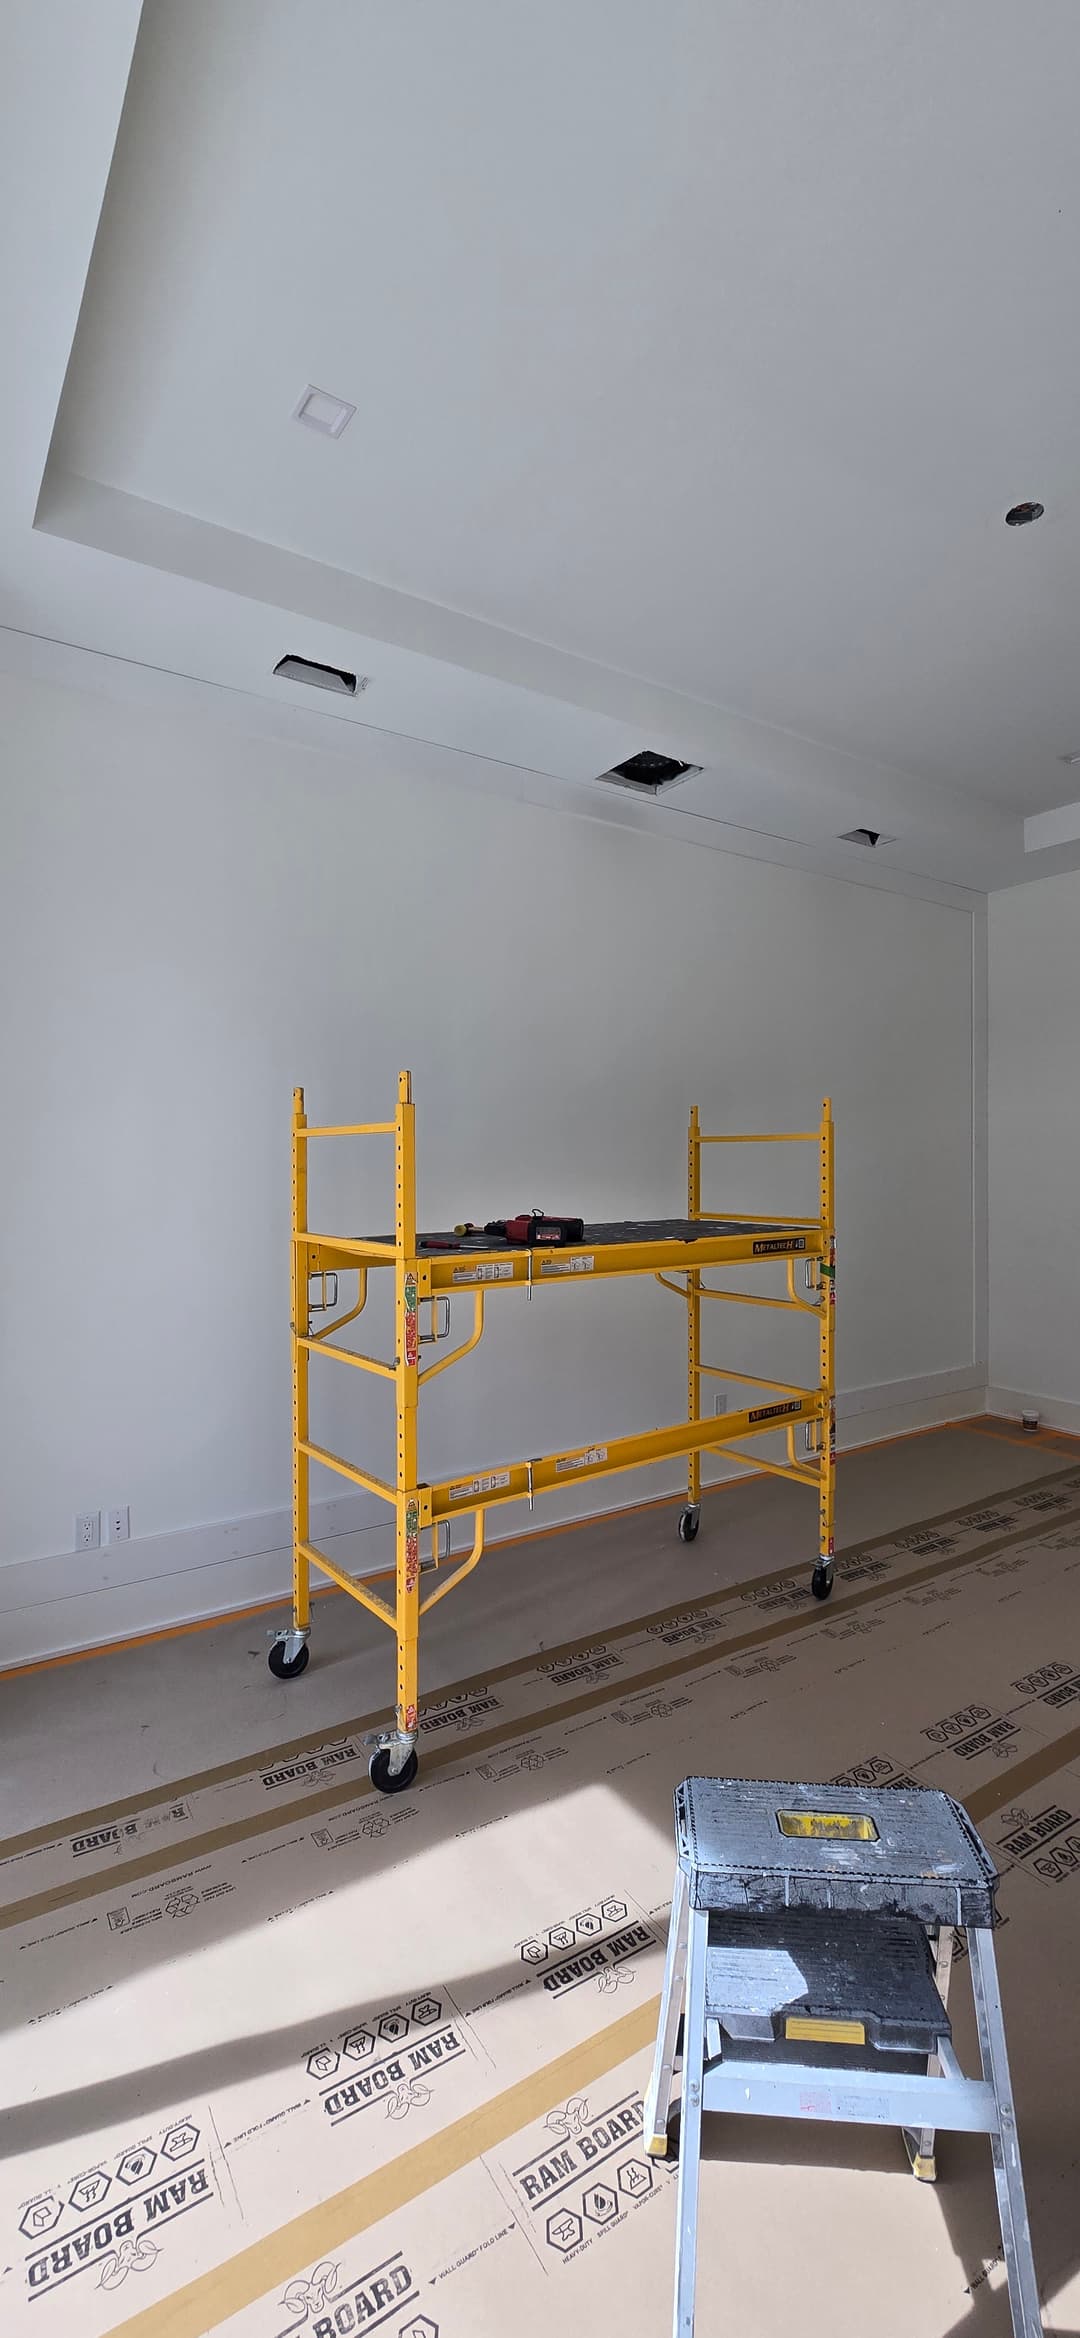
We started with the room completely empty. Floors protected with Ram Board, scaffold rolling. The first order of business was getting the board-and-batten framework up on the feature wall.
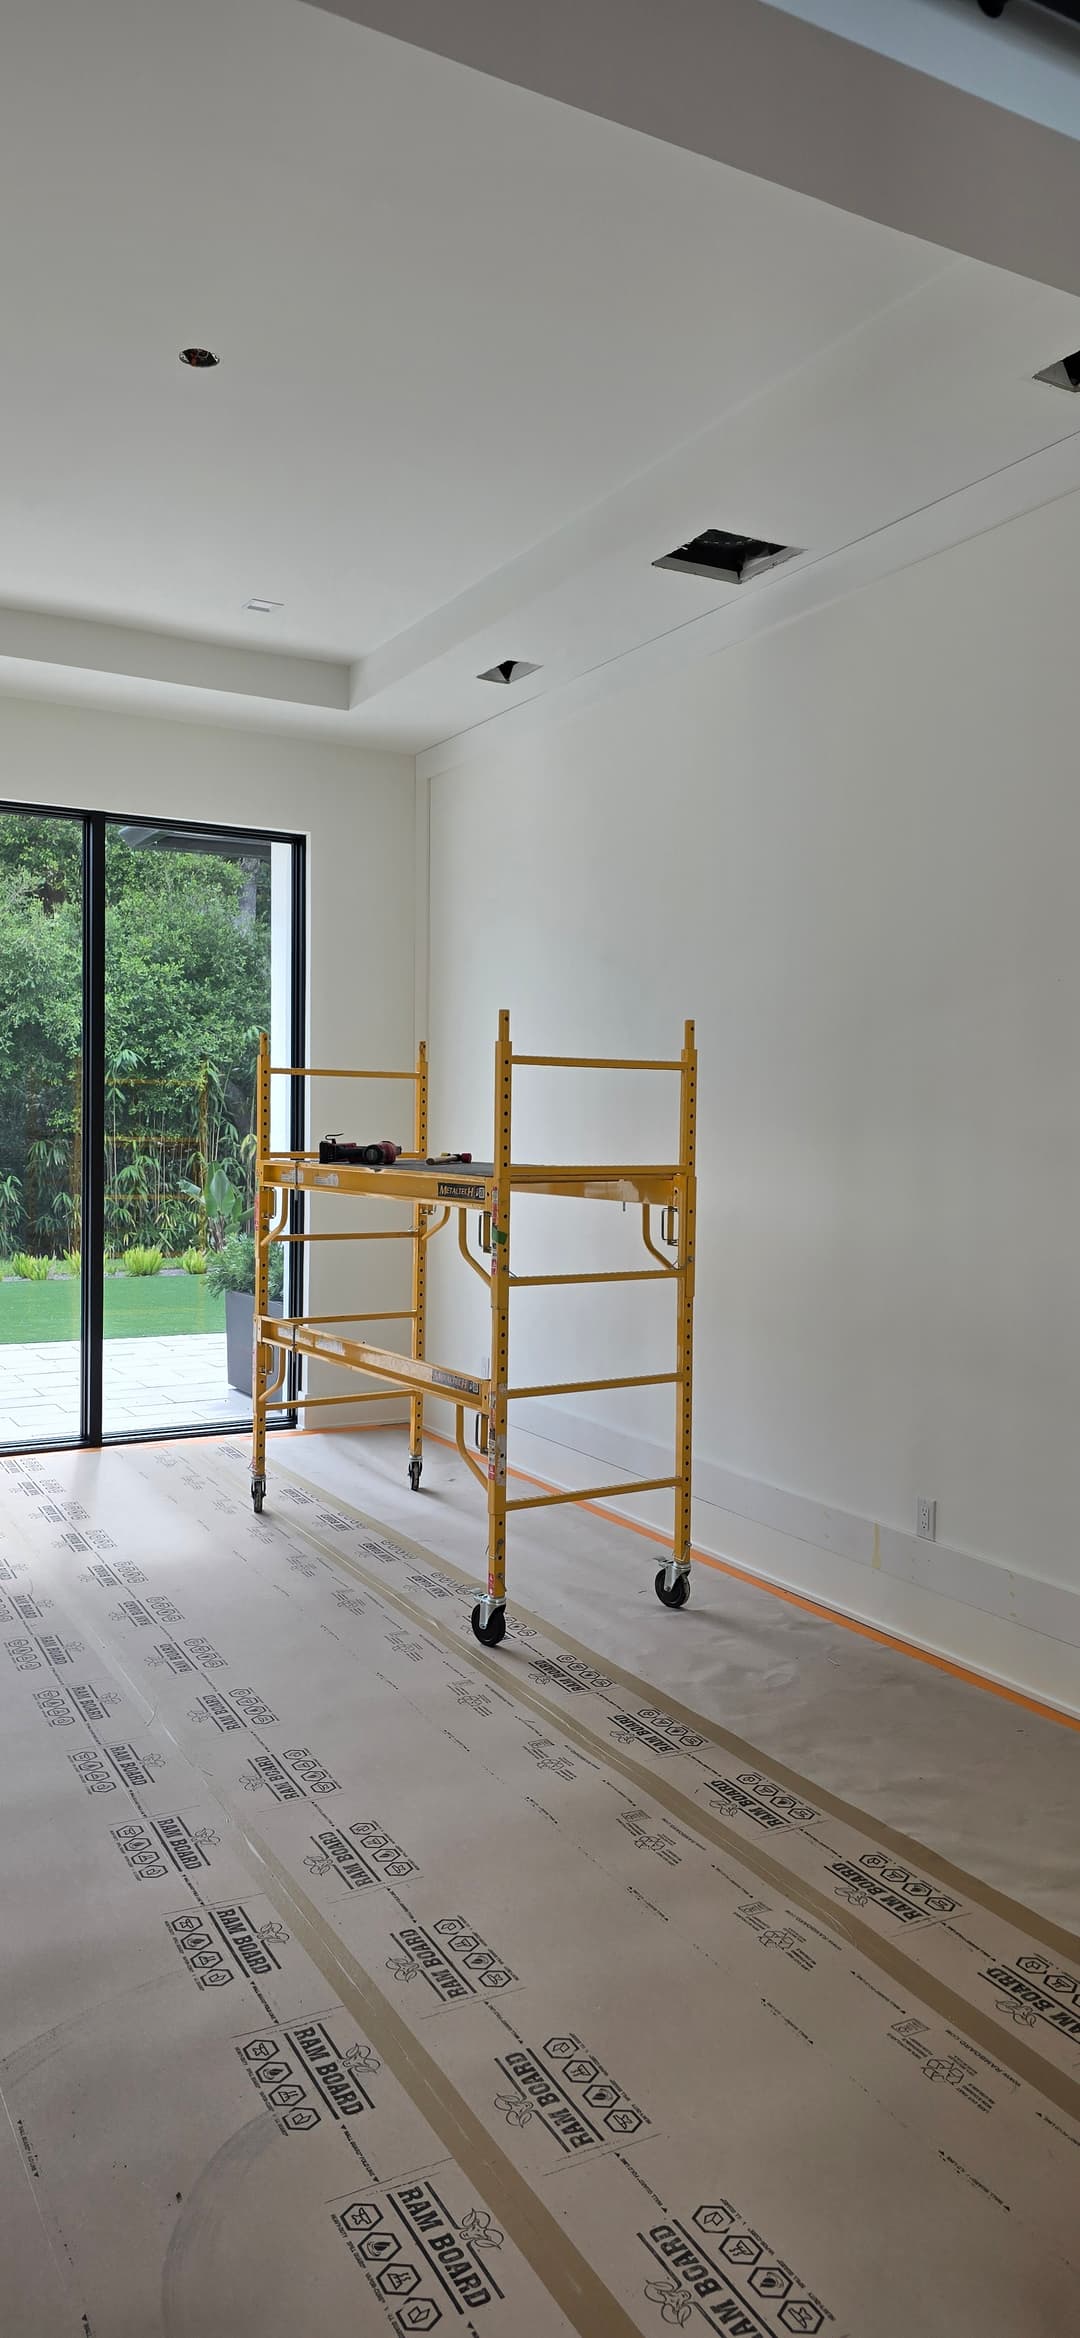
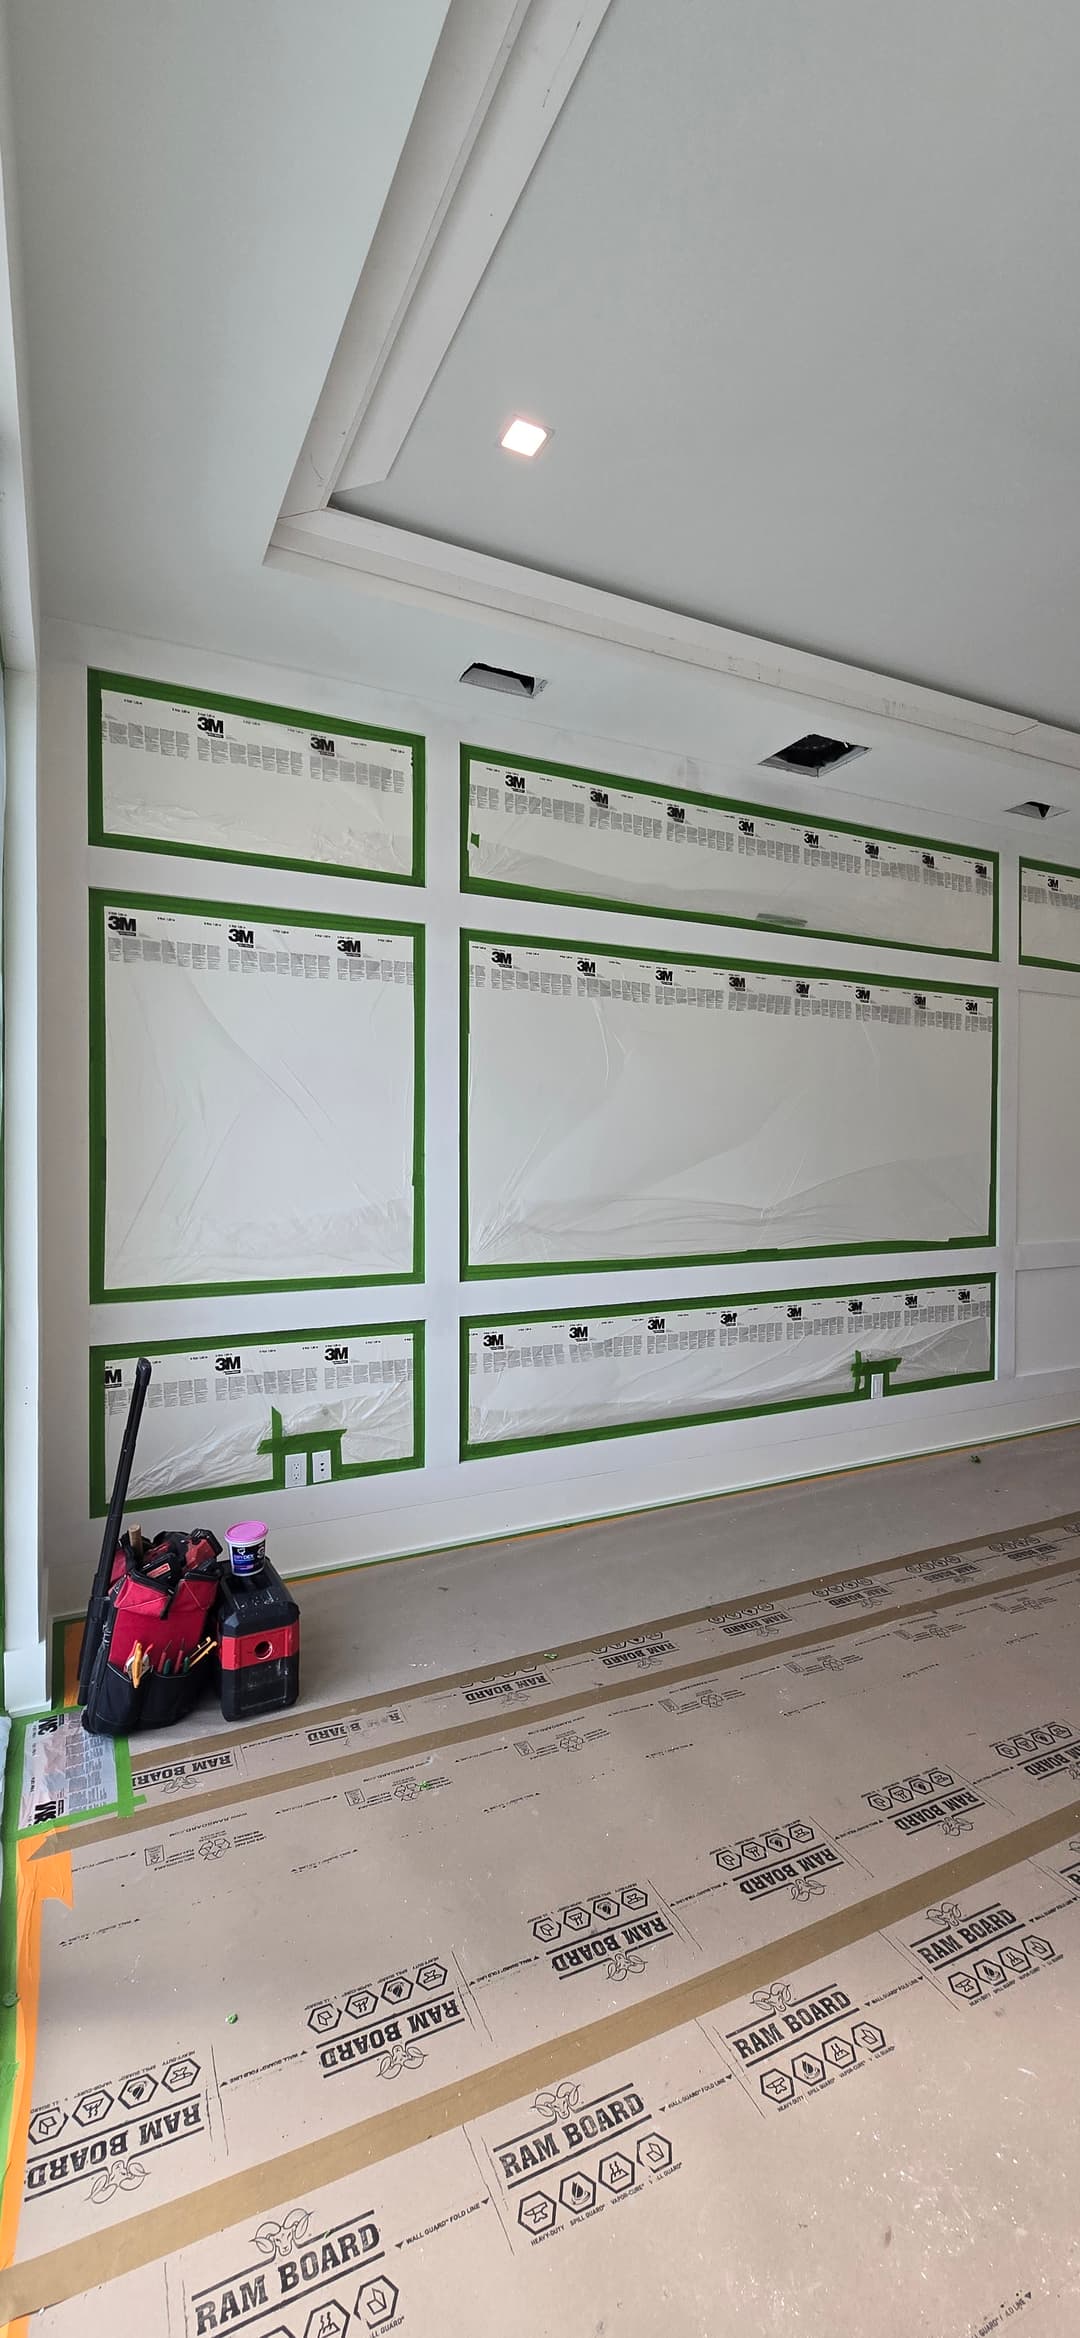
The battens went up in a grid pattern: horizontal rails and vertical dividers creating a series of defined panels across the full width of the wall. We ran the layout so the proportions felt deliberate. Taller upper panels, a wide center panel for the wallpaper hero moment, and a lower rail band that gave the whole wall a sense of grounding. In the during photos you can see the battens freshly set, caulk lines not yet painted, the grid just starting to read.
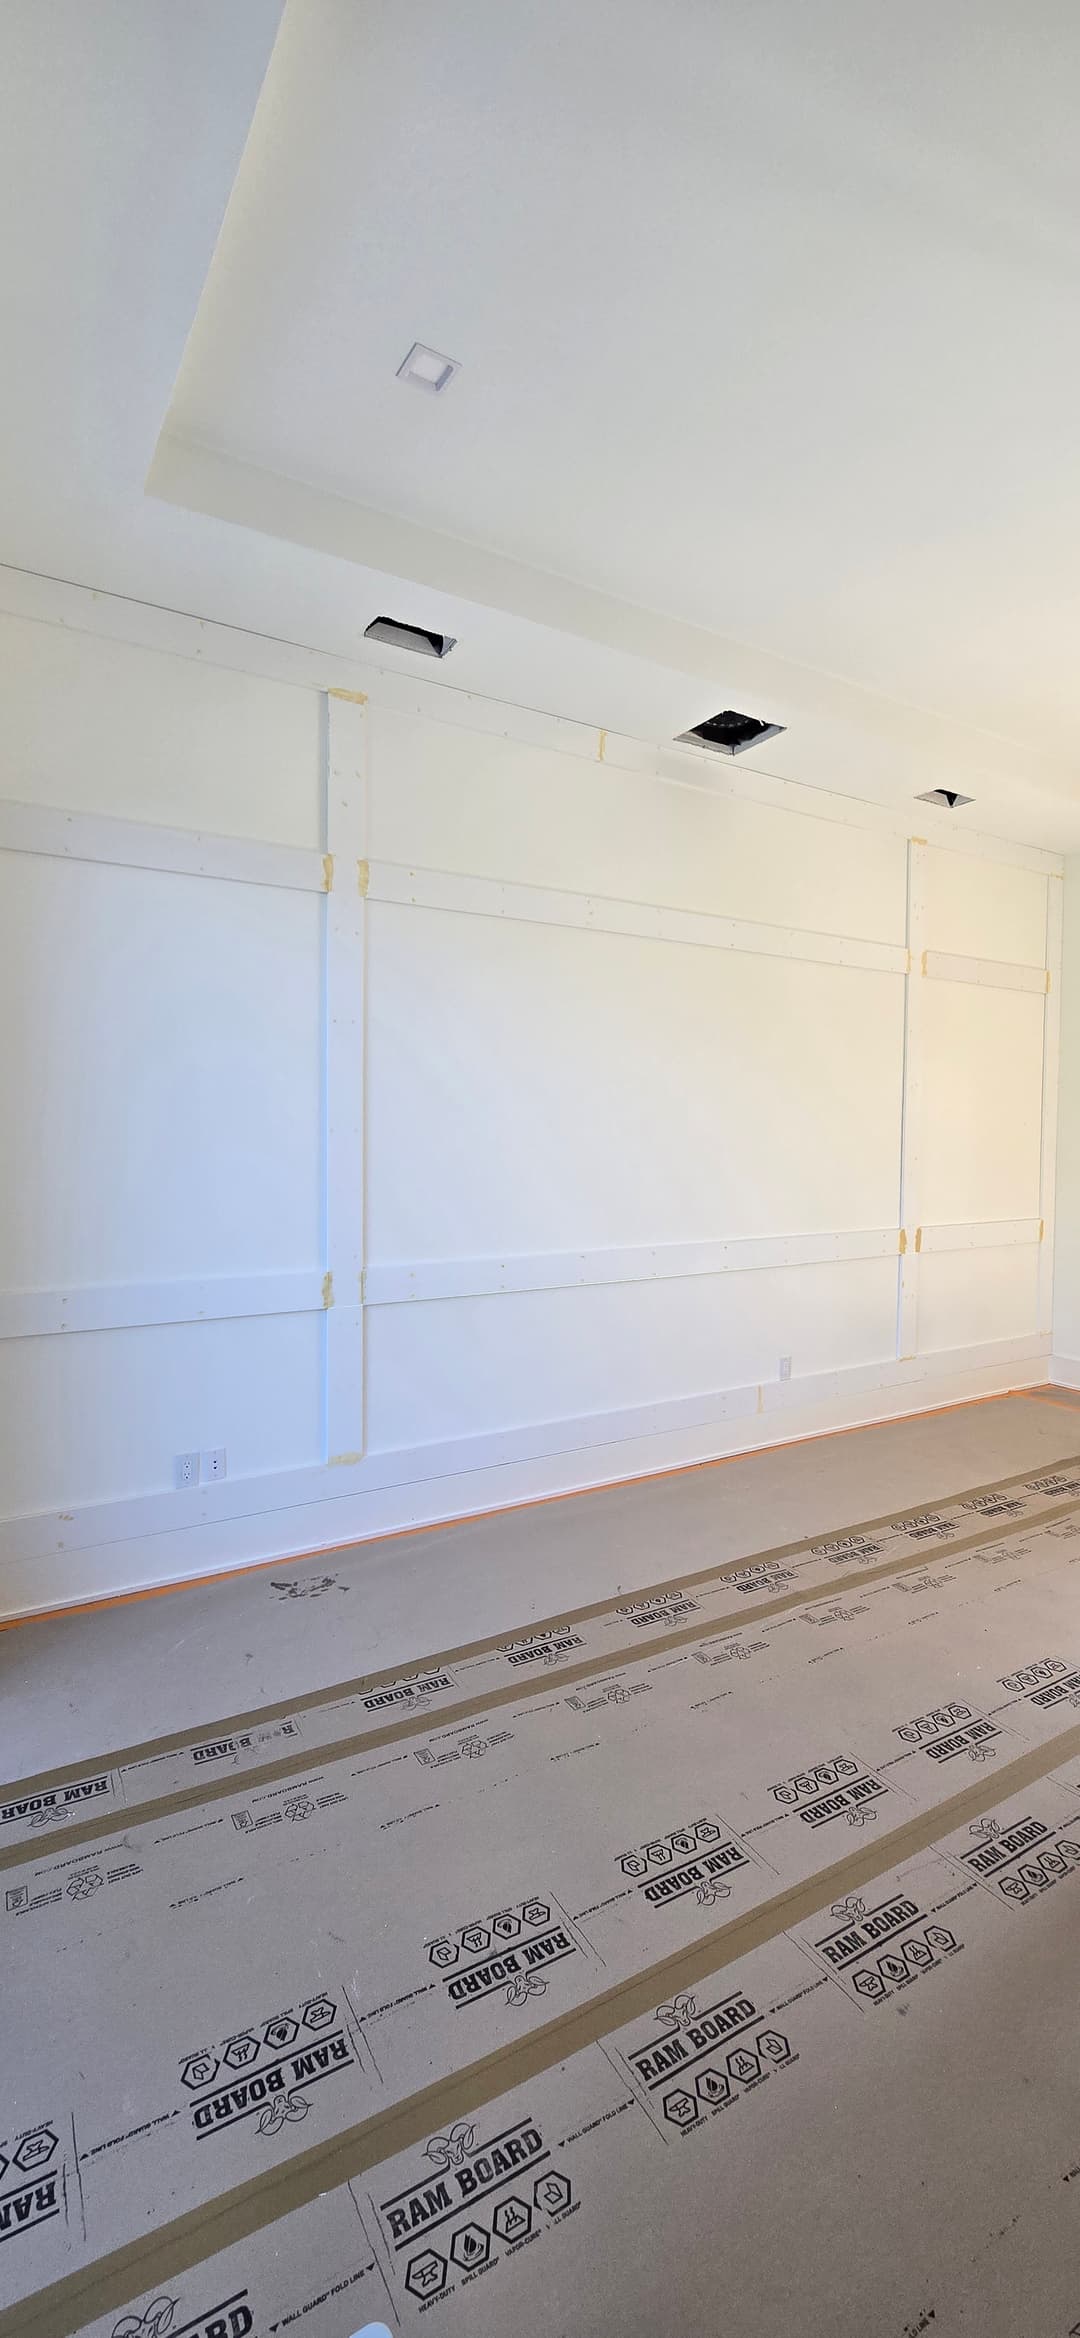
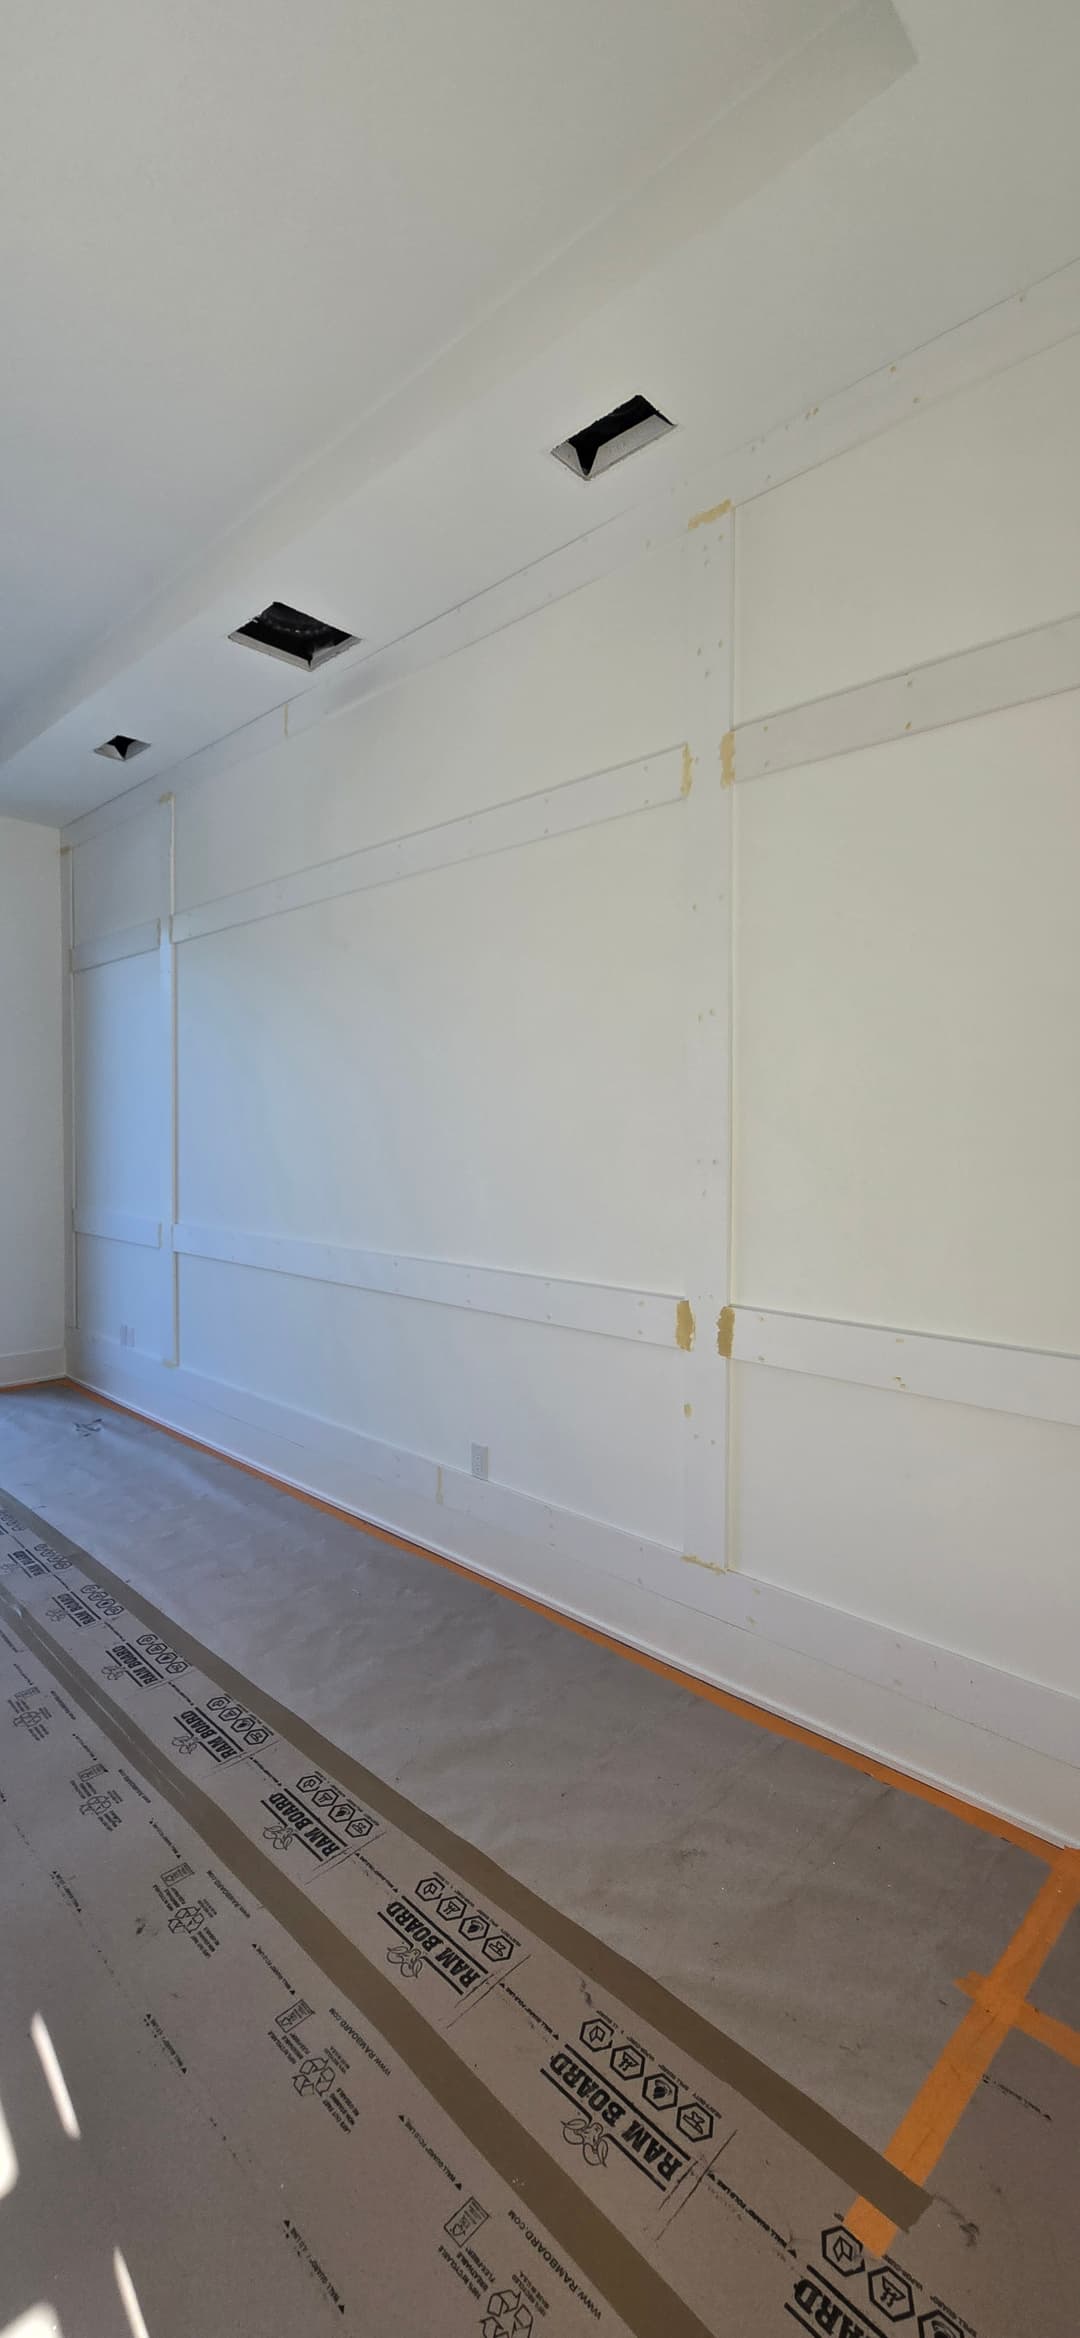
Before we touched a drop of color, every panel in the grid got masked with 3M and plastic. You can see it clearly in these shots. Every inset panel protected, green tape lining every batten edge. That's not optional. When you're painting everything the same deep color and then installing wallpaper inside those frames, you cannot get overspray into a panel that needs a clean substrate for paper adhesion. We masked it twice over where the tape edges mattered most.
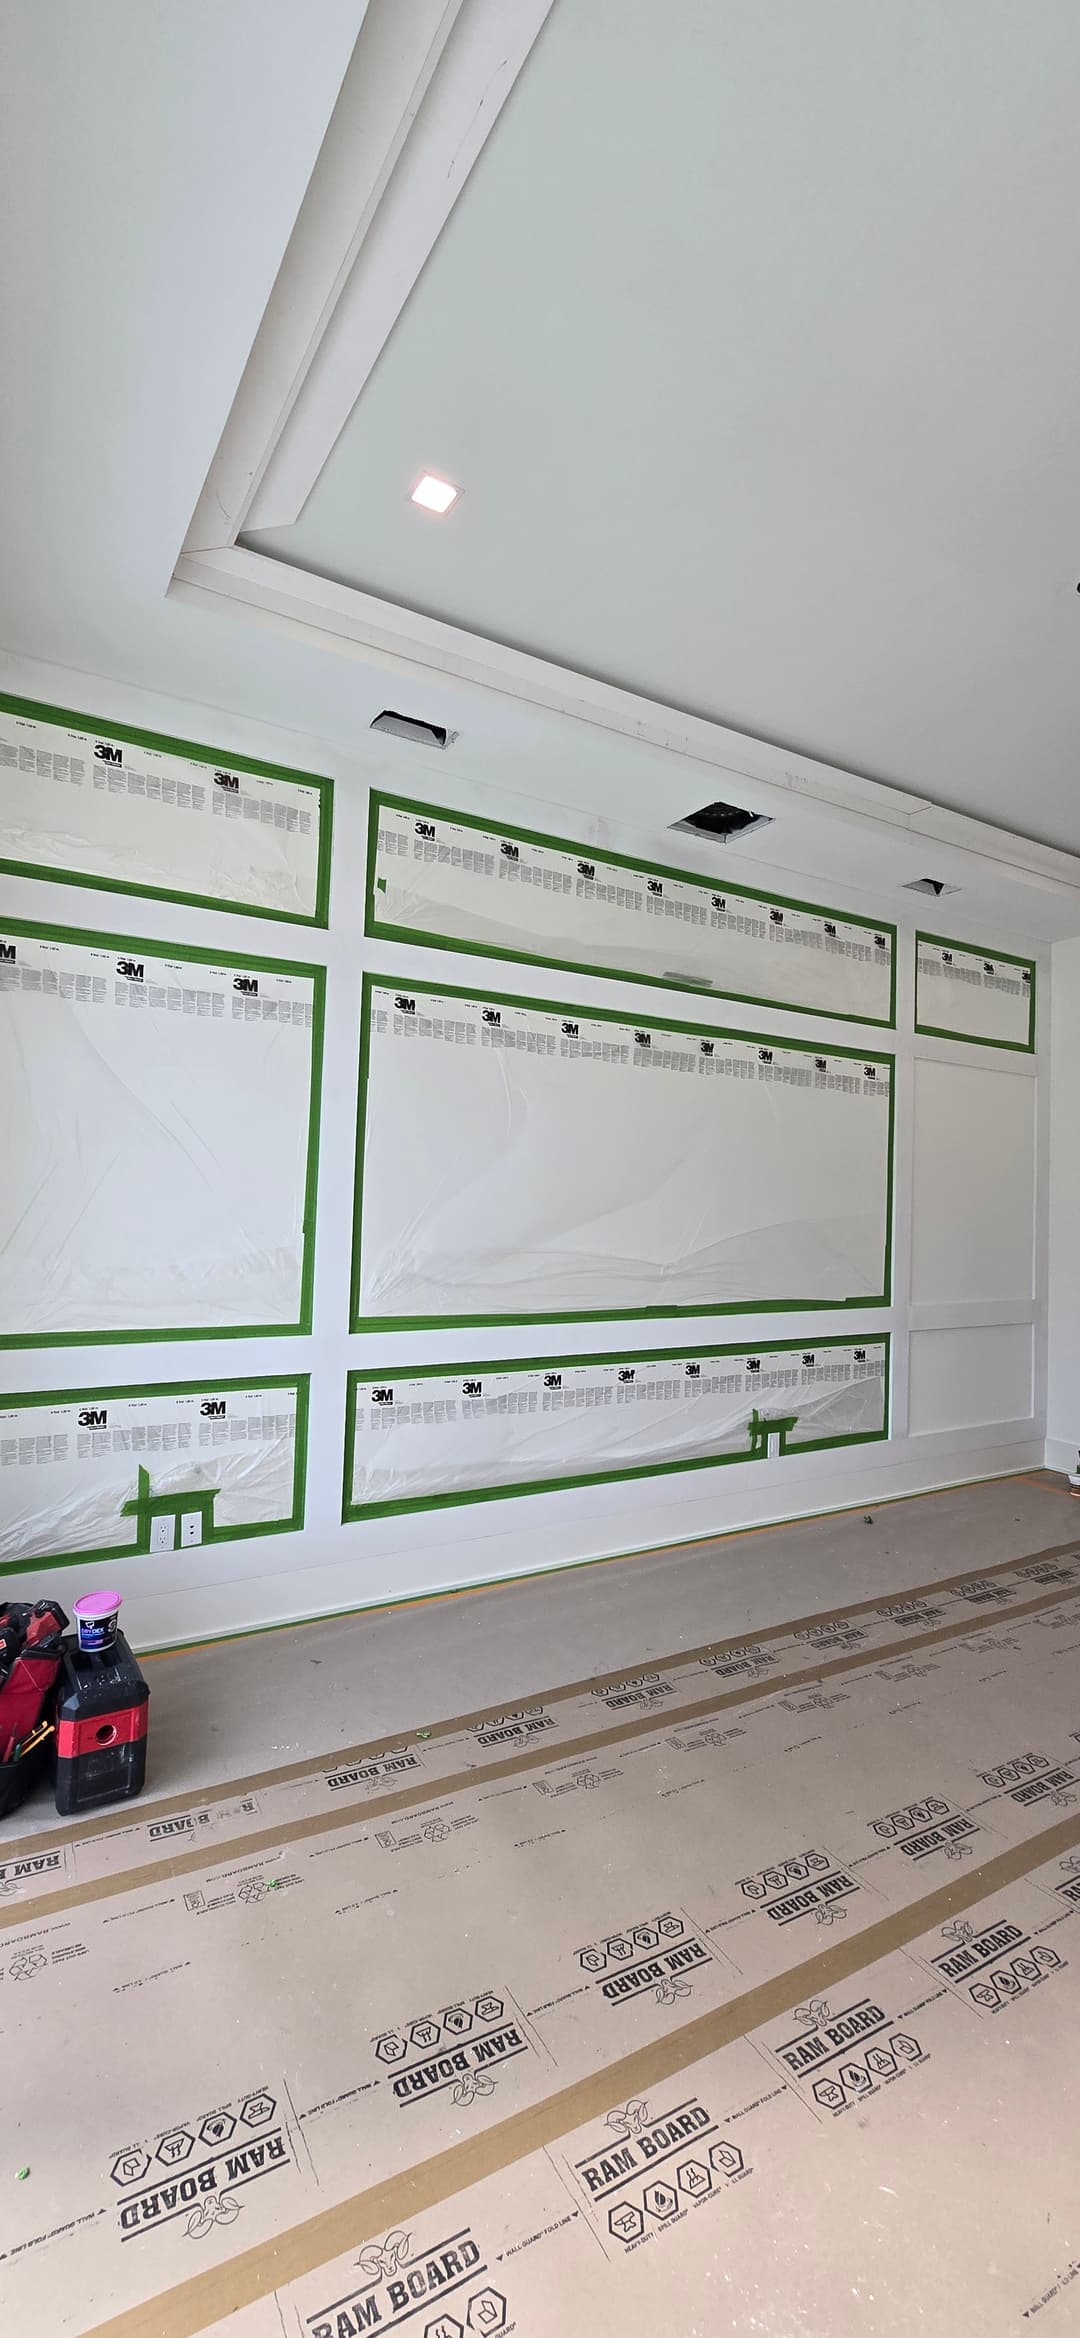
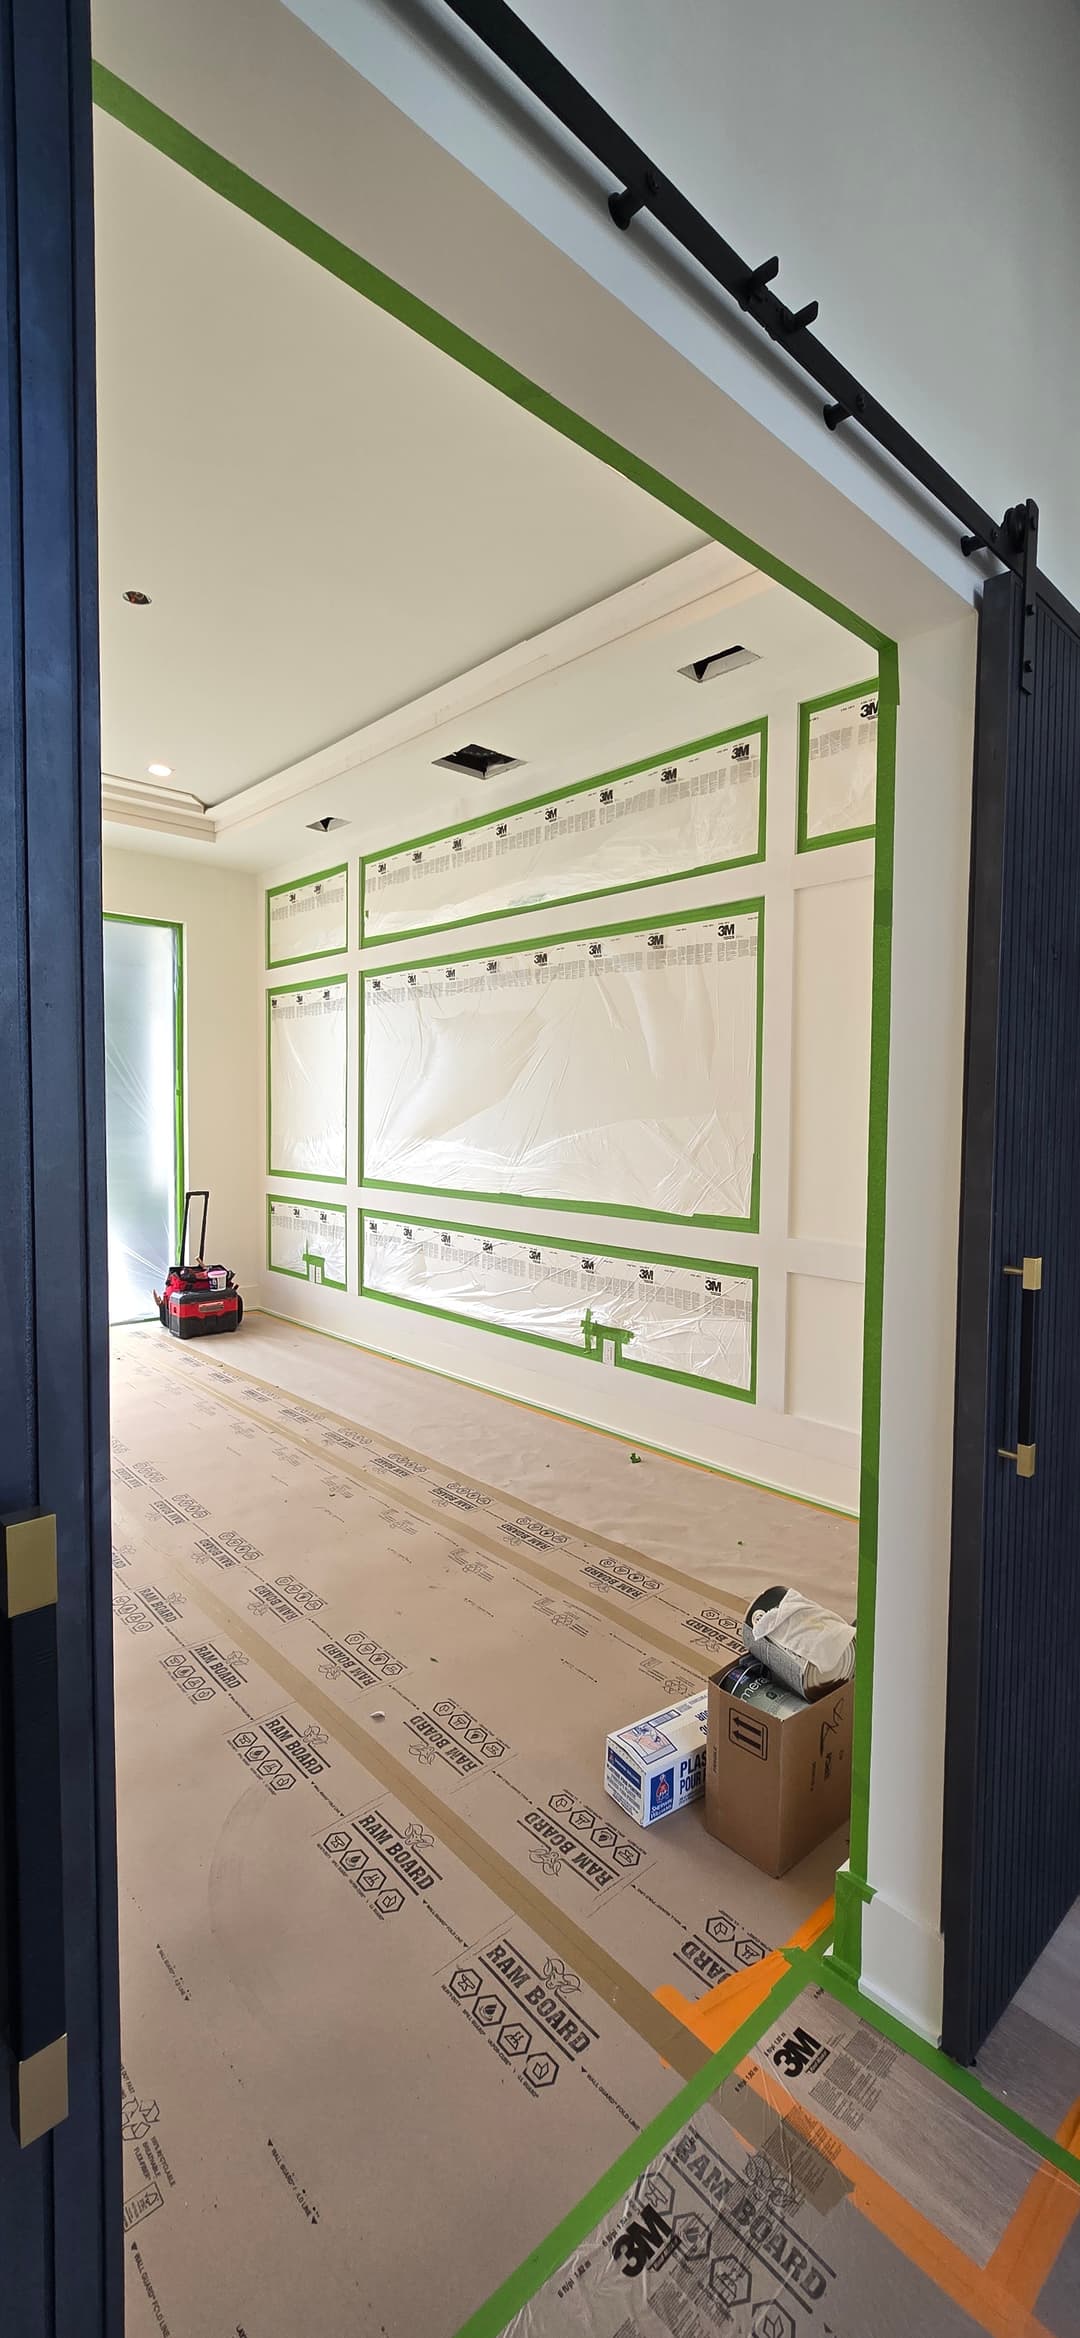
Here's the view from the doorway with the masking complete. You can already see the scale of this wall. The grid fills it top to bottom. The barn door hardware visible at the top of the frame gives you a sense of the ceiling height we were working with. This wasn't a small accent wall swap. It was the whole room.
Then came the crown. The original spec was a standard three-and-a-quarter inch profile. We upgraded to a four-piece crown. That's four separate molding elements built up and layered to create a deep, stepped profile at the ceiling line. In the during shots you can see it mid-install: each piece cut, set, and caulked before the color went anywhere near it. Four-piece crown at this scale on a tray ceiling means every inside and outside corner has to be dead-on. No gaps, no open miters.


Those two shots show the crown detail up close before paint. The profile has real dimension to it. You can count the steps. That's what separates a finished room from a room that just has crown molding. Then we moved to paint. Sherwin-Williams Granite Peak 6250, walls first, then ceiling, then trim, then we came back to the battens and rolled the whole thing together. Vents painted. Outlets painted. Every surface the same tone.

Here you can see the color going on while the panel wallpaper areas are still masked. The depth of that blue-gray is already doing its job. The tray ceiling reads lower, more intimate, even with the light flooding in from the glass doors. That's the whole point of color drenching. It shrinks the room in the best possible way. Makes it feel intentional rather than oversized.

Our guy on scaffold, working the ceiling section. Floor protected, doors sealed off from the rest of the house. That's just how we run a paint job in a finished home. One room at a time, contained, no overspray drifting into the hallway.

And here. The batten wall fully painted, panels still masked, showing the full layout before wallpaper. You can count the panels. The proportions landed right. That center horizontal band is wide enough to carry the wallpaper and hold it without the battens competing. Then the wallpaper went in. Custom pixelated-square pattern in tonal grays, fitted into each panel of the grid, trimmed to the battens.

This shot. Taken near the end of the process, room still not fully furnished but the color and the millwork both in. Shows you the whole picture coming together. The tray ceiling, the crown, the color, the batten wall behind. That's the moment you know the room worked.

That's Artem bringing in the last of the crown stock from the back patio. Long pieces, handled carefully on a big property. The detail work that happens before you ever touch a wall.
The Result
Walk into this office now and the first thing you notice is that there is no white anywhere. Granite Peak 6250 wraps the tray ceiling, runs down every wall, covers every inch of crown, trim, and vent. The battens on the feature wall frame nine wallpaper panels in a tonal pixelated pattern that reads like art from across the room but like texture up close. The four-piece crown gives the ceiling transition real weight. Not a thin line, a full architectural moment.


The glass doors pulling daylight in create a natural contrast with the deep walls. The room doesn't feel dark. It feels grounded. The color makes the space read with a focus and a purpose it didn't have before.


The homeowners came back to a finished office. Clean site, floors uncovered, every surface exactly what was discussed. That's the goal every time. Doing it right the first time.
Ready for Your Own Accent Wall or Color Drench in Ponte Vedra Beach?
We do this work throughout Ponte Vedra Beach and St. John's County. Full interior painting and accent wall installs, board-and-batten, shiplap, custom crown, the whole scope. If you're in Ponte Vedra Beach, Nocatee, or anywhere in between and you have a room that needs to be more than four plain walls, reach out. We'd be glad to take a look. God bless. 🙏
Some product links above are affiliate links. If you buy through them we may earn a small commission, at no extra cost to you. We only point you to materials we actually use on the job.
Helpful guides
Planning a project like this? These walk through the decisions.
 Guide
GuideShiplap vs. Board and Batten: Which Accent Wall Is Right for Your Home?
Shiplap and board and batten are not the same thing, and the right pick comes down to the feeling you want in the room. Here's how we'd talk through the look, the layout, and the upkeep, honestly.
 Guide
GuideHow Much Do Custom Built-Ins Cost in Jacksonville? A 2026 Pricing Guide
There's no flat price for custom built-ins because nothing we build comes off a shelf. But there is an honest way to think about what drives the cost, and this guide lays it out.
By consultation
Built to last.
Finished to impress.
We take on a limited number of projects each season so each home gets our full attention. Share your project and we’ll respond within 24 hours to see if it’s the right fit.
Insured · $1M general liability · 230+ Google reviews, 5.0